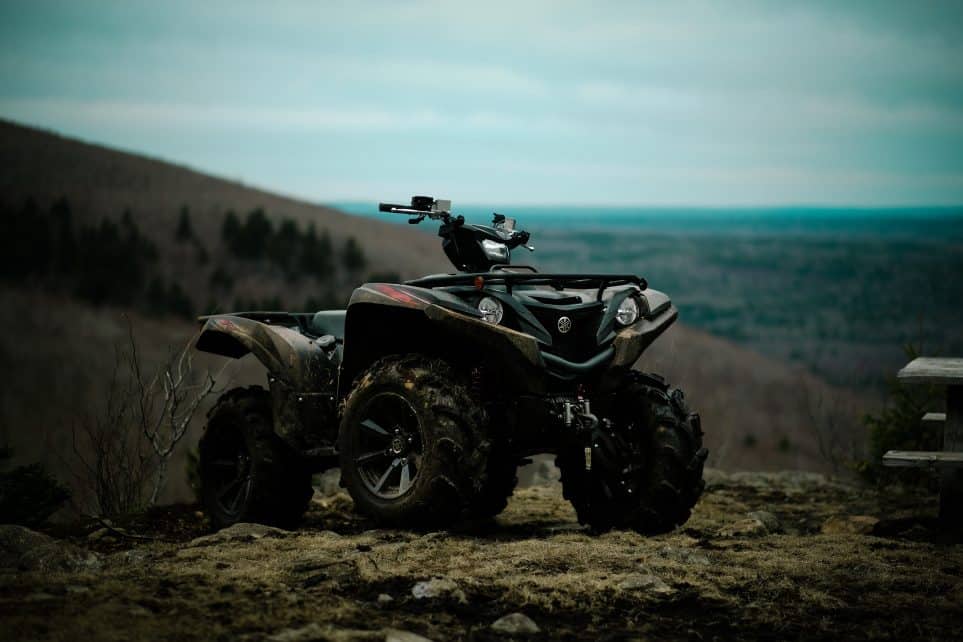
The Yamaha Blaster is an amazing ATV. It’s strong, durable, has racing capabilities, and a lot of other top-notch features. However, it’s not completely indestructible, and you have to get it repaired from time to time.
If you’re new to the ATV world and don’t know what to change or repair on your Blaster, here’s a quick guide to help you out.
Body Parts
After some especially hard days on the trail, sometimes your ride will be a bit worse for wear. Why not upgrade while you repair? Going with something like these Yamaha Blaster fenders will not only fix what you’ve broken but will also be a nice style upgrade as well!
You should also run a quick check on the brake pads after a rough day on the road. Keep your ears open for any sort of grinding noise coming from that area. This is an indication that the pads are either broken or weren’t attached properly in the first place. It could also be that the brake pads aren’t compatible with the Blaster, and you need to get something that’s been specifically made for this model of ATV.
Changing the Oil
To ensure the longevity of your Blaster, you need to change its oil from time to time. The oil quality determines the performance of your engine; if the oil itself is bad, your ATV’s engine can’t put out a good performance. And it’s not just for ATVs. Motor vehicles need to have their oil changed once in a while so that they can perform flawlessly.
In comparison to a car, changing the oil for an ATV is much easier and takes less time. They require more frequent oil changes as well since they’re more exposed to dirt, mud, and other sorts of debris the tracks have to offer.
Follow the manual that came with your Yamaha Blaster to change the oil. Just because you’ve changed the oil in a different ATV doesn’t mean that the process is the same for all the others. Hence, you should consult with the user manual before getting to work.
Cleaning the Air Filter
Air filters should be kept clean to ensure a clean flow of air into the engine. Without clean air, the fuel can’t burn properly and will lead to a poor output in terms of performance and efficiency. Besides, if the right amount of air isn’t mixed with the fuel, it can damage the engine.
To clean the air filter in your Yamaha Blaster, you should simply take it out, get rid of the dirt and mud with a brush, and then wash it. After you’re done washing, dry the filter, check for scratches or any other type of damage, and then place it back where it belongs.
If the filter has molds forming on it or has too many tears, it’s best to replace it with a new one.
Tires
Once you’re done with the Blaster for the day, check its tires for strains and tears after cleaning. If you find anything wrong with them, you should switch to a new set of tires immediately. The Blaster uses AT21 x 7-10 4/156 bolt pattern tires in the front, and AT21 x 10-8 4/100 bolt pattern tires in the rear. Don’t ride the ATV again until you’re able to switch to a new set.
Nuts and bolts
Usually, with ATVs, nuts and bolts aren’t damaged, but they do go missing. Especially after a bumpy ride, you should check the Blaster’s joints to see if any bolts or nuts had fallen off. If you’re able to locate such a joint, you should immediately replace the missing bolt or nut with a new one. Otherwise, the next time you take your Blaster out for a ride, and the bolts are undone, you could be in for a serious accident.
The best thing for you to do is to take care of your Yamaha Blaster in such a way that it doesn’t require a repair job in the first place. For that, you need to be a bit careful while riding it. Apart from taking necessary safety measures yourself, you need to drive safely too. You should also conduct regular inspections, and check for any sort of faults. Maintaining a regular inspection routine will make your Blaster last a very long time, and won’t require frequent repair jobs.
