
New snowboard. You need the right tool for the job, but how to choose the right one? What is important when selecting your next stick, what makes a good board and what is only here for the bling bling? What is the meaning of technical terms in technical specifications and more – snowboard explained from tip to tail from A to Z.
How not to choose your snowboard?
Let me tell you a little snowboard story first… So you busted your ass the whole summer at some crappy job to get enough money for you dream snowboard trip. Then comes the first snow and you are eager to hit the slopes. You are the first one up, the first one in line at the lift, the first one to plan your lines on the powder covered hill or through the sick halfpipe and park. You are squeezing the iron bar on the chair so hard that water comes out, your heart beats like crazy, your palms are sweaty, knees weak, arms are heavy, there’s vomit on your sweater already, mom’s spaghetti, you’re nervous, but on the surface you look calm and ready, to drop bombs…uh got carried away. You strap in and jump up, hit the kicker and? Damn, what happened to my bindings, what is wrong with my snowboard. I watched all the pros, made a list of what they ride, flipped through all the add pages in the latest mags. Well, how to buy a snowboard then?
Yeah, and you got fooled by the marketing departments of snowboard companies. That is not the way to buy a snowboard. The right way is this: first take some time to read this guide so you know what to look for, then take all the smart things you learned here and browse through snowboard catalogs and snowboard companies web pages, then talk to other snowboarders or the staff at the local snowboard shop (if they are for real), and the most important – try it before you buy it! What might be a sick stick for the next pro rider cold be totally useless for you. Now read on
How to buy a snowboard if you are a beginner snowboarder?


OK, not really, but you are in for some reading and explaining. First you need to find out what are different snowboarding styles all about, what is:
- freestyle snowboarding,
- what is freeride snowboarding,
- what is alpine or race snowboarding.
After that, still do not jump right into it just because you are a freestyler/freerider or maybe skier at heart and you know that must be right for you. Try it before you buy it. Do you know somebody that snowboards? Maybe he can lend you his equipment and you can try it for yourself. Even better – get some lessons, then visit a few snowboard equipment tests on the slopes. Start thinking of a new snowboard when you are already a bit more into the sport, you will better understand what you want.
Try it before you buy it!
Every season more and more snowboard companies organize tests on the slopes, mostly at the beginning of the winter. The dates of these test are written all over the snowboard manufacturers web pages or on the pages of the ski resorts that host these snowboard demos. Some snowboard companies even have their own little tents or shacks on the slopes that are there permanently. Now lets go on to snowboarding equipment and the most important thing you will ever need for snowboarding which is a snowboard (huh, surprisingly :)?!).
Table of Contents
Snowboard Explained
These snowboard tips are more related to freestyle and freeride snowboards, because these are by far more popular and also more suitable for beginners. But you can pick up some useful information even if you ride a race snowboard.
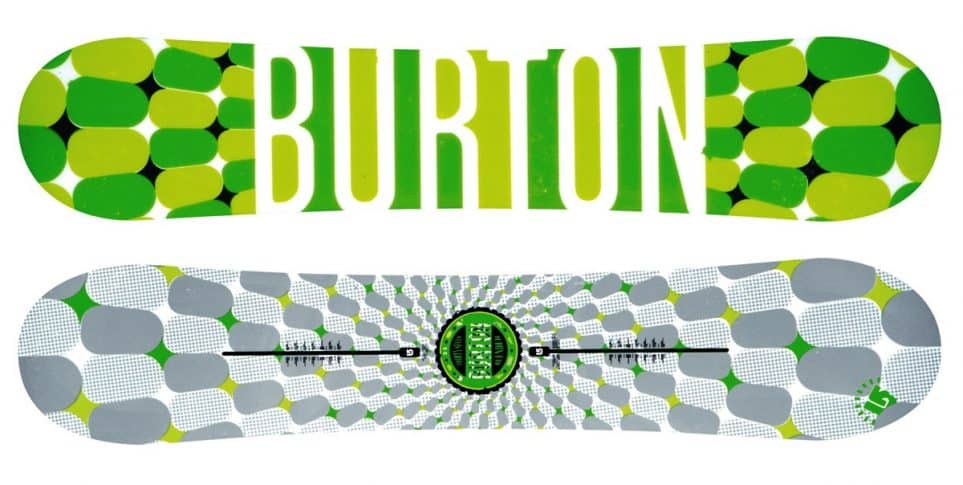
Graphics


Hell yeah, the first and most important thing – graphics! Because we all know that “The better you look, the better you feel, the better you feel, the better ride!” ha-ha. Obviously nice topsheet is cool, but check out the other things first.
Width
Snowboard width is one of the more important things to look for when buying a snowboard. If your snowboard is too narrow and your feet are too big, your toes will overhang and you will slide out when carving. On the other hand, a wide snowboard is less responsive and harder to turn, because it is harder to get from one edge to the other. So you are looking for a compromise. If you feet are not above average, get a normal sized (width) snowboard. Also, if you will do a lot of freestyle riding you will want to put your bindings on your snowboard at a lower angle or maybe even zero for back foot. In that case the toe overhang is most evident. If you set bigger angles, you can avoid the overhang. For more info on stance angles and toe overhang check the stance adjustment guide.
To test the snowboard width put on you snowboard boots and stand on the snowboards inserts (what are inserts? read on), then check your toes. You need to take into account that when you put bindings on the board your boots will be higher up and overhang will be smaller, so if you can, check the snowboard width with your bindings.
The width measurements in the snowboard width chart below are given for the narrowest part of the snowboard.
Snowboard Width Chart
|
Snowboard width: |
Narrow |
Normal |
Wide |
| Feet size | Up to 41 EUR 8 USA |
42-44 EUR 8.5-10USA |
44 EUR / 10 USA and more |
| Snowboard width | 25cm 9″ 4/5 |
25-26 cm 9″ 4/5 – 10″ 1/4 |
26 cm / 10” 1/4 and more |
Length
Yes, size matters. The size or length of the snowboard is measured from tip to tail (where else) and is usually from 140 – 170 cm / 55″ – 67″. This covers most of the standard models. General rule is that snowboard should be about 90% of your height which is somewhere up to your chin or a little more. Later on, when you know what you want you also adapt the snowboard length to your style of riding.
How and what difference does it make?
- Longer snowboards give you better stability, better edge hold on ice, better handling with higher speeds and what is most important for a lot of snowboarders – longer snowboards better float in deep virgin powder. So a longer snowboard is used for groomed slopes, freeriding and especially powder. That is why freeride boards are longer.
- On the other hand, shorter snowboards are easier to learn on, easier to turn, easier to do tricks on. So more freestyle snowboarding and tricks or for beginner get a shorter snowboard. That is why freestyle boards are shorter.
Then there are a few more things to consider when it comes to length:
Riding style
If you are a fast, aggressive rider that get a little longer board. If you ride slow and easy get a little shorter snowboard.
Your weight
The heavier you are the more pressure you put on your snowboard:
- If you are light, you need a shorter, more flexible snowboard. Long board will require more work from you.
- If you are a bit heavier, you need a longer and less flexible snowboard. A soft and flexible snowboard will be too soft for you and you will slide and spin out of turns easily.
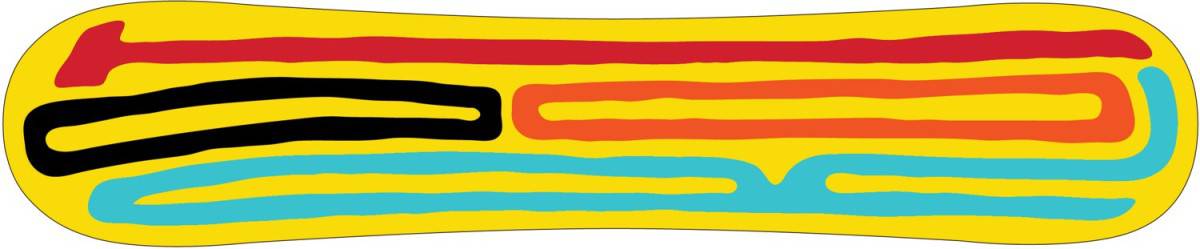
Shape
There are three basic snowboard shapes: directional, twin- tip and directional twin.
- Directional snowboards are the best choice for riding powder. Longer and wider nose for better float in powder, stiffer tail and setback of the bindings.
- Twin- tip snowboards used to be the choice for freestyle snowboarder but today almost every freestyle snowboard is directional twin. The thought behind the twin – tip snowboard was to make switch riding easier. But now most of the pros ride like they were born switch and nobody needs that kind of help any more. With the advances in snowboard technology most of the snowboards are
- Directional twin snowboards. They have the flexibility of the directional snowboard and the shape of the twin tip snowboard. That means that nose and tail of the snowboard are fairly the same at the first look. In reality they are never completely the same as they have different width, height and stiffness characteristics.
Flexibility
Its all in the flex baby. We have two types of snowboard flexibility – horizontal flexibility and vertical flexibility:
- Longitidunial / Horizontal flexibility – is the flexibility from nose to tail. For a light snowboarder a stiff snowboard will be too hard and therefore not enough responsive, it will also be a pain in the ass to ride on icy and bumpy snow. Horizontal flexibility is highly connected to the snowboarders weight. Besides that – stiffer snowboards are better for groomed slopes, holding edge while carving and powder. Softer snowboards are better for freestyle snowboarding, for landing jumps, jibbing etc. A hard snowboard is much harder to land and gives you less room for mistakes.
- Torsional / Vertical flexibility – this is the stiffness of the snowboard from heel edge to toe edge. Softer snowboards are easier to turn and more responsive, but the edges on the harder snowboard hold better in the turn. So to sum it up – stiff snowboard is better for groomed slopes and powder, softer snowboard is better for bumpy and soft snow.
Camber And Rocker
Camber
If you put your snowboard on flat surface the camber is the distance from the flat surface to the snowboards base in the middle of the snowboard. As you can see, there is a gentle arch the snowboard makes. Higher camber makes the nose and tail of the board work harder as more pressure is put on those two areas. It helps stabilize the board at higher speeds and on hard snow, and makes it easier to turn. So if you like to go fast, ride lots of groomed slopes and want a responsive, stable board that can handle hard snow get a cambered board.
No Camber – Flat Snowboard
Low or no camber is a sign of either a really tired used old snowboard that lost all its camber (which brings a tear to my eye remembering my old blue board) or a flat freestyle snowboard, where absence of camber makes some tricks easier.
Dual Camber
This is when the snowboard is lifter under each binding but not in the center of the board. Pretty rare.
Rocker
In the past (I’m going to shoot a number from the top of my head) 95% of all snowboards used to have camber. But in the last few years we started to rock! Rocker that is so important in for instance surfboards came to the snowboard world. Rocker is the exact opposite from camber and is sometimes also called reverse camber. But I don’t like that name, rocker sounds so much better. Basically – if again you put your board on a flat surface the nose and tail will be lifted from the ground and you board will rock like a rocking chair.
Now – the first reason why rocker is becoming so popular so fast is that it is forgiving and easier for beginners. If you are just learning how to snowboard get a board with rocker! But thats not all. Other benefits of this shape:
- Improved flotation in powder – hell yeah! Rising nose wants to get out of powder while the nose of a cambered board wants to dive in. This means less “powder nose dive somersaults” or you can even get a shorter powder board that will ride the same as a longer cambered one!!
- Greater maneuverability – rockered board has a shorter effective edge -> less contact with the snow -> easier turning.
- Better for park riding – easier to slide rails and less risk of catching edges when landing tricks.
I’m rocking a rocker at the moment and I like it.
Combos
Once manufacturers discovered that there is more than one rocker in the snowboard universe they went crazy. Now you can get all possible and impossible combinations of camber and rocker.
Side cut radius
Finally something simple. Side cut radius is an imaginary circle that is partly represented by the snowboards edges.
- The smaller the sidecut (and the circle) the faster the snowboard will turn and draw smaller circles in the snow. It will also turn quicker and be faster from one turn into another. It is better for freestyle. As usual there is a but and a trade-off…so BUT! Smaller sidecut makes the snowboard harder to handle, specially at higher speeds and the edges like to catch the snow quicker.
- Bigger sidecut means more long drawn out turns at higher speeds, more riding on the edge of the snowboard (carving is easier).
To complicate it a little, these days a lot of snowboards do not have sidecut radius that is simply a part of the circle. The shape of sidecut radius is now more refined and changes from the tail to the nose of the snowboard (parabolic sidecut etc…), but the principle with bigger and smaller sidecut stays the same…
Sidewall construction
Sidewall is the wall between the snowboard base/edge and top sheet of the snowboard. The smart people from the snowboard companies have again confused us with more than one sidewall construction. First is straight sidewall, that is easier to fix, second is cap construction, that is harder to ding and harder to fix. You get cap construction when you fold the top sheet of the snowboard all the way down to the snowboards edge. The last sidewall construction is a mix of the above two. The cap construction hype was better transfer of power from rider to the snowboards edges. Funny how it is not very popular any more. Or is it back again? Who cares, I don’t think in really matters…
Snowboard core
Snowboard core is a soul of the snowboard and is what a snowboard is built around. The weight of the snowboard and the shock absorption depends on the core. Of course we have plenty of different cores.
The heaviest and cheapest is injected foam core. Today this core is really only found in some low end snowboards.
The other extreme is maybe aluminum core in the shape of honeycomb, which gives the lightest core and extremely expensive snowboard.
Then there is a whole range of wood cores which are the standard for snowboard core. Also the most high end top end and high tech snowboards have wooden cores. The quality and price of the snowboard core depends on the type of wood that is used for the core, the technique of the lamination etc. Core is where the most weight can be saved or gained. In theory a heavier snowboard is better on bumpy snow because it absorbs the vibrations better. But in practice, a lighter snowboard is always more fun to ride.
Snowboard base
Snowboard base is the part of the snowboard that comes in contact with the snow. For the sliding and speed performance of a snowboard, base is the most important thing, and to get the most speed out of your snowboard is a quest for all the serious racers. As for the rest of us, the speed of the average snowboard is just fine. Bigger problem is the fact, that we usually leave the base to the mercy of ice, rocks, rails, trees, little brothers crayons etc without waxing it for a long time. Lack of wax will make even the most high-tech base slow down.
Base is also another part of the board where weight can be gained or lost. So besides making a fast, indestructible base they also want to make a light one.
Most snowboard bases are made from a polyethylene. Bases can be extruded or sintered. Snowboard base is somewhat like our skin, they can “breathe” through little holes in the base. These holes suck up the wax which makes the base “soaked” in wax and fast.
Extruded snowboard bases are melted and cut to shape. Extruded bases are easier to repair, but because the way they are made, they have less capillary holes and hold less wax.
Sintered snowboard bases are first grounded into powder, heated, pressed, and then cut into shape. Sintered base is superior to the extruded base because it is faster and holds wax better. Although they are also more durable, they are more expensive and harder to repair.
Quality depends on the size of the pellets that are used to make a base. The smaller the pellet size, the faster the base. Then there are also some other materials that are added like graphite. Graphite snowboard base is faster than a normal one.
So here we have again the pros and cons, if you are looking for high performance snowboard and want to go fast even in the afternoon slush, get a snowboard with a sintered base. If you are tight with the money, get an extruded base. Catch is you cant get top snowboard with cheap base, so you either get a top board or you are left with more money for the tickets.
One more thing when it comes to price maybe – some of the better bases are single color only. You can have it read, black, yellow..any color. But one base can not be multicolored. So to make a bottom graphic on a snowboard this graphic must be assembled from differently colored base pieces. That makes this base more expensive compared to an all black base for instance. Even though the quality and the performance is the same.
Almost finished now :) – these were the main factors that influence the snowboard performance. But when you will look at technical specifications for an individual snowboard you might also come across these terms…
Snowboard Term Glossary
Snowboard edge
Snowboard edge is a metal edge of the snowboard. Nooooo….really :)? There are some different techniques how companies insert the edges into the snowboard, but I will not bore you with this highly technical stuff. More important is effective edge of the snowboard.
Effective edge
Effective edge of a snowboard is the length of the edge that actually touches the snow when you ride your stick and make a carving turn. So this does not include the whole edge from tip to tail. A longer effective edge gives you more stable, controlled ride; a shorter effective edge makes a snowboard looser and easier to turn. As said before – at the same snowboard length a rockered snowboard will have a shorter effective edge.
Nose (Tip), Length, Width
This is the front end of the snowboard. Higher and wider nose is good for riding powder because it prevents the snowboard to sink under the snow. You do not want your nose to catch snow when you are making a high speed powder lines. The result is usually a lot of tumbling and quick exchange of the sky and snow before your eyes. The nose length is measured from the widest part of the board’s nose to the tip of the nose, the nose width is measured across the front tip or nose area of the board.
Tail, Length, Width
The tail is the rear end of the snowboard. Because it is in the back, there is no fear it will catch snow, so it is generally flatter than the nose. If you see a really funny fish or split tail snowboard, these are made for deep powder. Tail length and width are measured the same way as described above.
Inserts and setback
Snowboard inserts are two metal inserts integrated into the snowboard. Inserts have several holes, which are used for mounting your bindings onto the snowboard. Setback is the distance that tells us how far back the inserts are from the center of the board. Or to explain it better – imagine the center between the inserts and the center of the snowboard. The distance between these two centers is the setback. Inserts are generally moved a little towards the tail, this is even more true with freeride snowboards. Setback puts the weight of the snowboarder towards the back, so the snowboard nose sticks more out of the snow. Good idea in deep powder. If the inserts are completely centered, then the snowboard does not have any setback.
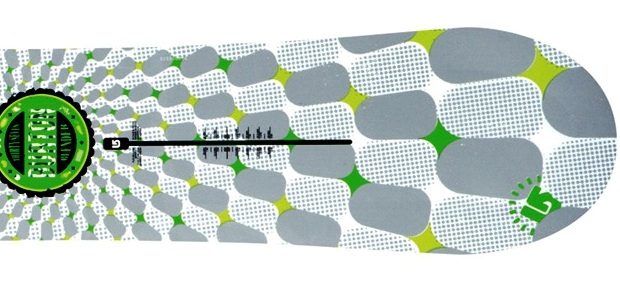
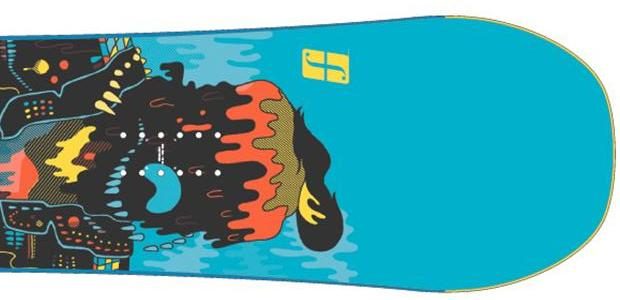
Oh, there is another thing to look for. Burton places the holes in the inserts a bit differently than other companies. They have a 3×3 system, everybody else has a 4×4 system. That means that you need 3 screws to mount a binding on a Burton snowboard and 4 screws for any other board. So your bindings will have to be Burton compatible. If you already own the bindings, make sure your snowboard has the same hole pattern as the bindings are designed for. Anyway – again, to find out more amazing info about adjusting your stance and your bindings go to these two articles – setting your stance and how to put your bindings on a new snowboard.
Top sheet
And finally….we are back at the beginning – this is where the graphics comes in. There are some tricks how to make an extra light top sheet and still have a nice graphic but let the engineers worry about that. You just make sure you don’t buy an ugly snowboard.
So that’s it. Now go buy yourself a stick and go ride, stick some tricks, shred some powder! Then come back and brag about.