Mountain biking is a great way to get out and explore mother nature in the summer. It’s amazing how many places your bike can take you. If you’re new to mountain biking, there are definitely some things you need to get used to. Things that are way different than on a regular bike. Dirt, gravel, sand, mud…are much more difficult to ride on than pavement. And steep and winding single trails always keep you on guard. For a full pack of starting with mountain biking knowledge check out this guide. In this article we will look at the most common and stupid mountain biking mistakes all the beginners make. I know I did them. It’s important to practice good riding when starting out so you don’t develop bad habits that are then really hard to get rid of later on.
No matter how comfortable you may feel biking on pavement, there’s always a learning curve making the transition to mountain biking. Here are a few common mountain biking beginner mistakes and how you can fix them.
Table of Contents
Shifting gears
Let’s start with something easy. Get comfortable with how your mountain bikes gears shift while riding on pavement before hitting the trail. You can do this by biking to the trailhead or just around your neighborhood. Being able to transition gears smoothly will help with your cadence while biking and reduce wear on your chain and drive train.
It’s never a good idea to shift in the middle of a hard pedal stroke. This puts stress on you chain and drive train. What usually happens is this. You are speeding downhill and you have a really hard gear for times when you have to put in a few strokes to get the speed back up after braking around the corners or for flying over flats. Then you ride to a steep uphill and you use your speed to get as far up as you can. Then it is time to start pedaling. But your gear is completely wrong for going up. So you’re cranking hard on the pedals going into a steep uphill and at the same time shifting gears down towards the granny gear (granny gear is the easiest gear on your bike:). This is not a good way to do it.
You need to back off your pedal stroke for a second to allow for a smooth gear shift. You can even shift two gears during this split second if you’re headed into a steep uphill climb. The best way to shift gears is to anticipate what gear you will need for the next section of the trail. If you see a climb then shift down before you come to the climb. When the climb starts you will be ready.
In some cases, you will learn that it is not always best to shift gears. As you lose momentum towards the top of a climb, stand up on the pedals. This keeps you from losing too much momentum, and saves you from poor shifting on an uphill.
If you keep cranking on the pedals when you go to shift you can put enough force on your chain to damage it. Once your chain has been damaged, it won’t take much for it to brake. Best to practice smooth shifting to get the most out of your bike before putting more money into it.
Foot pedal contact
Where your foot sits on the pedal is important for getting the most power out of each rotation. It may seem intuitive to have your toes or ball of your foot on the pedal, but this limits how much power you get from your legs. If your foot is too far back on the pedal you will put unnecessary strain on your leg muscles while riding and decrease your stability. You want the axel of the pedal to be just behind the ball of your foot. By using this position, you can maximize the usage of the correct leg muscles for pedaling and control.
One way to guarantee your feet will always fall in the same position is using clipless pedals. Despite their name, clipless pedals clip into special bike shoes (check the complete beginner guide for more info on the right shoes nad pedals). This system will give you more power as you pedal since your feet are attached, and make sure your feet are always in the correct position.
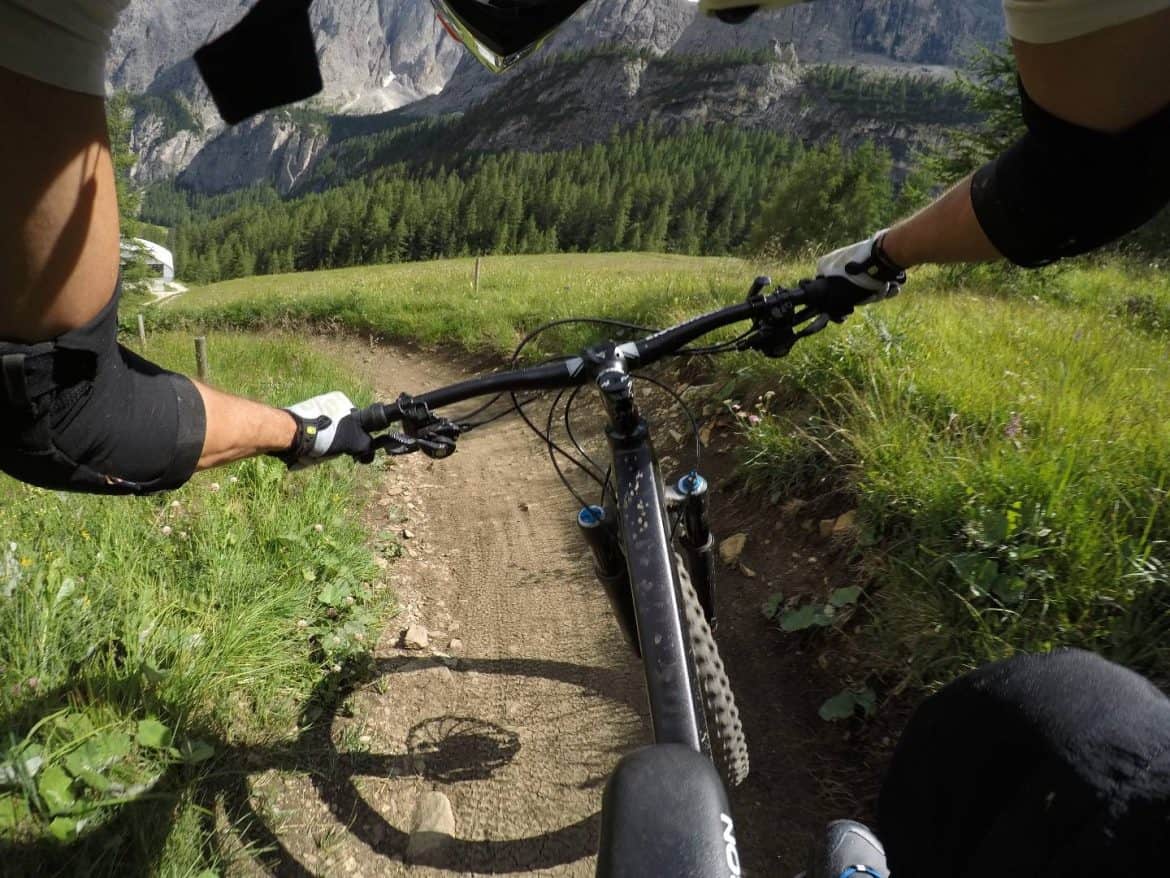
Death grip on the bars
This is one of the most common mountain biking mistakes. Why? Because it is a common thing to do when you get scared. To hold on tight. If you rock climb, you’ve probably experienced the same thing on the wall; getting scared and holding on extra tight inevitably pumping you out more. If you relax your grip you will have more control and response to the bike along the trail.
Having too tight of a grip on the bars will cause the rest of your body to tense up. When you are tense the bumps on the trail suddenly feel bigger, so you get even more scared, grip the bars even harder… It’s an vicious circle. By loosening your grip, your arms, shoulders and back will be able to relax as well. This relaxed upper body helps with shock absorption while riding on the trail. When you are relaxed suddenly the obstacles seem smaller as you absorb them better. Being relaxed on the bike will also help with reaction and control. If your hands are not over gripped and your arms are relaxed you can respond better to quick turns or obstacles that come up in the trail.
Over braking
In addition to the death grip on the bars, this one is the second mountain biking mistake classic. Almost all beginners will grip the brakes too hard. Grabbing too much brake when riding downhill can cause you to lose traction and skid out. You’ll also wear out your brakes faster if you’re always braking on the downhill. Constantly braking will also overheat the breaks, causing loss of breaking power which will lead you to grip and pull on the brakes even harder, your arms will get tired, you will feel like you can not stop at will so you will start gripping the handlebar really tight etc… and you are in another vicious circle. All this leads to a not really fun ride. Fear of going fast and falling is strong when you start mtb, this is why this common mountain biking mistake that beginner make is so hard to overcome. It might be the hardest one from the six mentioned in this article.
How do you brake properly? Braking on your mountain bike should be similar to braking in your car. When driving down a steep winding road you want to pump your brakes around the curves to avoid burning out your brakes. Give the brakes some time to cool off. Same rules apply on a mountain bike. Pump the brakes going into the turn to slow down, then you can pull some speed out from the bottom of the turn. It is always better to build up speed and then brake a bit harder then to constantly break so you never go “too fast”.
One finger braking
A good way to avoid over braking is to only hold the brakes with your index finger. Hydraulic disc brakes are responsive and only need the pull of one finger to control the bike. This will help you from braking too hard and skidding out (although one finger is more than enough to to block a tire!). Using two fingers on the brake lever can at first give you more confidence while riding. You know you can stop because you can pull really hard on the brakes with two fingers. But soon you will learn that holding your handlebar is even more important that holding the brakes. Fingers holding the handlebar help you control the bike. More fingers more control! So learn to brake only with one finger and use the rest of the fingers to control your bike.
Front and back brakes
Your bike has two sets of brakes, front and back. It is important to balance front and back brakes when mountain biking. If you pull too much on front brake you’ll go over the handle bars. However, if you pull too much on the back brake you skid and end up wearing out your back tire faster. Both front and back are necessary for controlling and stopping on your mountain bike. When going downhill more of your weight falls on your front tire. This is why breaking the front tire is more effective. This is why they say that you should break around 60% with your front tire and 40% with your back tire. But to begin just practice using an even amount of front and back brake to control your speed. People usually feel safer braking mostly with their back brake, so this is another common mountain biking mistake.
Sitting down
Although you wear bike shorts for a reason, to protect your bum from the hard seat, sitting down all the time is not in your best interest. When you sit down on the bike you’re cutting your best shock absorbers out of the equation, your legs! When going downhill always stand up!
By standing on the pedals on the descent you’re able to absorb and respond much better to technical rocky sections of trail. Your legs add another 50cm of travel to your shocks! Ok, I have made that number up, but imagine how much you can bend your legs and compare it to the amount of travel your bike has. Impressive right? Being up on your feet also puts you in a correct riding position so you are able to move with your bike. Beginners sometimes feel safer sitting down but in fact it is more dangerous to do so. Without the extra shock absorption that your legs give you the ride will be way bumpier and you can get thrown of your seat and bike when hitting obstacles. So always ride standing up.
When pedaling uphill the majority of the time you will be on the seat, but sometimes it is in your best interest to stand. Sometimes you reach a steep uphill that you’re not prepared for and don’t shift soon enough. Rather than cranking on the gears and shifting to an easier gear, stand up on the pedals and use your body weight to help you up the rest of the hill. Don’t sacrifice your momentum for sitting down on the bike.
Not looking down the trail
Mountain biking is all about being prepared for whatever may be around the next bend in the trail. Of course, if you’re riding familiar trails you may not have this problem, but it is good practice for when you are on unfamiliar trails. Not looking ahead can cause problems as you start to venture into new and more difficult trails. Keep your eyes up 15 to 20 feet down trail and pick your line accordingly. This will help you pick your line around upcoming obstacles.
On of the common mountain biking mistakes is to always look at what’s directly in front of your front tire. Usually the reason for this is that we fear every obstacle on the trail. And we feel more in control when we know exactly what is going on under our front tire. But in reality the consequence of not looking ahead is a slow and jerky ride instead of a fast and smooth one. If you don’t look ahead you won’t have time to react to larger obstacles. When they come you will be braking hard or going slower altogether to avoid any surprises. A simple way go faster on your mountain bike? Look further ahead when riding!
BTW, if you manage to fix or avoid these 6 mountain biking mistakes your will already be a better rider than half of mountain bikers out there.
Thank you,very much appreciated, only wish I started this wonderful sport sooner in life but, ready to do what is possible.
Same here haha. But it’s never too late.