Maybe buying a used home built camper van 3 days before the trip was not the best idea. Especially for someone who has never used a proper camper van. What complicated things even further was the fact that I bought the van from a dealer, not from the original owner. He could have explained all the little tricks the van has. Hm..naaah. It was the best idea ever and we had a blast :)! But things would go much smoother if we did a shorter test run or two before the 14 day Sardinia trip. Instead the camper van beginner mistakes started piling up right from the start. I wish I had a camper van guide like the one I wrote later to help me out.
So here is the story of the things that can go wrong with your camper van, a list of all the camper van rookie mistakes we did and how to avoid them. BTW this are real camper use problems, not some “I thought van life is cheaper” or “Make sure this lifestyle suits you so you don’t run home after two nights on a less comfortable bed.” :)
1. Not Closing The Fresh Water Tank Valve
Lol. It all started right at home. Let’s fill up the water before we leave. I turn on the water and put the hose into the correct opening on the side of the van. Now, the fresh water tank has like 80 liters, so it takes a while to be full. But when “a while” goes into it’s 10th minute I get suspicious. Why is the front yard completely wet. Because you did’t close the fresh water valve at the bottom of the van which allows you to release the leftover fresh water after the trip. This is especially important in winter if the van is parked outside in sub zero temperatures. So I was watering the front yard through the van for a good 10 minutes. Anyway, the solution:
Make sure to check where your fresh and gray water tank valves are and if they are opened or closed before you start using them.
BTW, not all campers have these valves. For instance – some really simple ones use water jugs and water containers that you fill/empty by hand by taking them out of the van etc…
Gray what? Fresh water tank is a tank that holds your drinking water. Gray water tank is a tank for dirty water from cooking, cleaning dishes and showering. Black water tank (if you have it) is a tank for the liquids and solids from the toilet.
2. Water Heater Has a Sub Zero Temperature Release Valve…Oh Really?
When we solved the first problem it was time to hit the road. Things went smoothly, driving across Italy, barely finding the right port and ferry in the confusion of Italian road signs in Livorno port and safely arriving to Sardinia. Then it was time to cook something. As soon as we started using the water fresh water tank water level started dropping rapidly. There was also a funny noise coming from the outside of the van. It was the sound of running water. Fresh water running onto the ground. Wtf?? This time from another hole at the back of the van. Opening and closing all the possible valves inside the van had no effect at all. At last I have found the red button marked hot water valve in the van storage compartment.
The job of this valve/button is to confuse rookies and to automatically release the water from the system if there is a danger of freezing. It is also a valve that you open when you want to release all the fresh water from the van. It was obviously opened. Closing it (by pulling the button upwards) solved the problem. This reads like an easy solution but we almost dropped all the fresh water…twice, before we learned what is going on. Water is only released when the water pump is working. The valve also seems to be electrically operated so if you turn off the main power switch the valve will automatically open. I flipped the power switch looking for a reason why 230V sockets are not working. The reason why 230V sockets weren’t working was there is no inverter in the van lol. Anyway, here is the solution/tip for camper van beginner mistake number 2:
If you camper van has hot water, locate the hot water valve and make sure it is closed before turning on the water pump and using the water, either hot or cold.
3. The Clogged Gray Water Tank Problem
Soon after the fresh water dumps were over I started noticing that the gray water tank is filling up, even though the water release valve was opened. All we got from the valve a slow drip. These water level sensors get it wrong all the time was the first conclusion, but when the gray water level made it to 3 out of 3 led lights that indicate how full the tank is it was time for action. Obviously there is a clog somewhere in the system. After a thin branch strangely proved not to be flexible enough to be pushed through the pipe and valve into the tank from the bottom of the van it was google time.
Can I use clog remover liquid in my camper van?
DON’T USE THE SAME CHEMICALS YOU USE AT HOME! The camper van plumbing system is much more fragile than the one at home. This was the first tip you get from googling. Because back home you just get a bottle of Mr.Muscolo or some other clog remover liquid and you pour it into the pipes. Problem solved.
Homemade clog remover
So first we tried a mechanical solution. I bought some flexible wire and built myself a homemade pipe clog remover wire of some sort. I pushed it into the pipe/valve at the bottom of the gray water tank. I pushed it into the kitchen sink. I pushed it into the shower. I pushed it everywhere repeatedly. Nothing. Second less flexible wire worked even worse. Led lights still 3 out of 3. OK, what’s next?
Baking soda and vinegar
The natural sodium bicarbonate + vinegar way. Finding a big pack of baking soda and white alcohol vinegar is not the simplest thing when you are living the vanlife in small coastal towns of Sardinia. After a day of shopping I had both ingredients and I started stuffing the sodium powder down the drain and shower pouring vinegar over it and closing the holes so it could “work it’s way down” as the web suggested. There were bubbles alright. But that was it. No miraculous opening, nothing. Led lights still 3 out of 3.
I give up
At this point I was like fuck it, I can not bring a full gray water tank back home into the winter and sub zero temperatures. The water will freeze and blow everything apart. How sensitive can the sensitive camper van plumbing be. Pipes are made out of plastic and the bottle that holds the chemicals is also made out of plastic. If it would be that bad, the stuff in the bottle would eat it’s way through the bottle. So 1 liter of Mr. Muscolo went into the sink and shower. Can you guess what happened? Nothing! Absolutely nothing! Led lights still 3 out of 3.
During this time also the camper van beginner problem no. 4 occurred.
4. Blowing And Replacing The Camper Van Fuses
The damn hair dryer
We had a special camper van hair dryer that you plug into the cigarete lighter 12V socket that worked just alright in the car back home. So, my girlfriend plugged it in and started drying her hair. It might have worked for a minute, then it stopped. I said: “It’s just a fuse!” in a 100% sure voice, although inside I was just about 70% sure it was a fuse the other 30% was a mistery :). “Just plug it in the back.” The fuse for the back 12V socket lasted even less time that the front one. So we lost all the electricity except the one that powers the propane gas heater ventilation (Truma Trumatic C).
Where are the living area fuses?
OK, no problem. We will just replace the fuses. I’ve checked the car manual where the fuses are, opened the fuse box and started checking the fuses. This didn’t go as smoothly as it was written. The damn fuses at a weird angles in the car dashboard did not want to go out of their sockets until I bought some pliers to help me do the job. Interestingly, none of the fuses were blown. The final straw that broke the back of hope was when I pulled out the fuse marked “radio” and the radio kept on playing.
Crap, the guy who built the van must have rewired the electricity. How the hell can I find out where he put the fuses? I’ve checked all the places that crossed my mind, nothing. Maybe a car electrician can help. Finding a car electric repair shop that is opened two days before New Years eve is quite a task. Especially when both our phones were working on fumes and without the electricity it was impossible to charge them in the van. The first one we found had a sign taped to the front door “See you on January 2nd”. The second one we just missed, so we parked the van in front of the shop and slept there.
I did not sleep well, remember, the waste water tank was still full as well :). In the morning I actually dreamed of another place where the fuses might be. I jumped out of the bed and checked and yes, there they were! And yes, two of them were blown! I replaced them and the power was back. Yeah! The solution/tip for the fuse problem:
Know where camper van fuses are. They are separated from the regular car fuses and they will usually be all together in a fuse box. Have spare fuses. Have pliers that you can use to replace them.
How do you know if the fuse is blown? There is a piece of thinner wire/metal in the middle of the fuse. The plastic jacket around the fuse usually has a hole so you can see this wire. If the fuse is blown, the wire will be broken.
Changing fuses
Since the purpose of the fuse is to blow the fuse instead of your whole electric wiring, generally you can only replace for instance a 5A fuse with a 5A fuse. Off course, that means in my case that the next time we plug in the hairdryer the fuse will again be blown in under 60 seconds. So I have put a bit stronger fuse in place, 10A. I am not sure this is smart, but it has been working so far. Common sense would say that using a bit stronger fuse like 10A instead of 5A shouldn’t be a problem.
The waste water tank is still clogged
Now we are back to the clogged up wast water tank. It’s December 31st, were are on a lonely beach 2h drive from the nearest town (because the road is so bad, not because it’s so far) and the shower pan is full of water because the wast tank is so full. Led lights are still 3 out of 3. The last idea I have is this.
I noticed the fresh water hose we use to fill the fresh water tank has the same thread size as the pipe that goes out of the waste water tank. So I screw the hose onto the pipe, put my mouth on the other side and pray that Mr.Muscolo and other crap from the tank doesn’t fill my mouth. Then I blow really really hard and when I apply all the pressure I can I signal my girlfriend to open the gray water tank valve.
As she opens it I can feel I am producing bubbles :D. I am blowing air into the tank and bubbles are appearing in the shower. I blow for a while and then close the valve, remove the hose and re-open the valve. Yeah!!!! The water starts to flow out. Never been so happy to see dirty water. The solution to clogged plumbing in the camper van?
To unclog clogged drains/pipes/sink/waste water tank in your camper van plumbing try any or all of these methods: 1.) get a drain snake an push it into the clogged drain 2.) make an unclog wire from a wire hanger or buy some semi flexible wire 3.) use nasty chemicals 4.) use eco friendly chemicals (they use enzymes) 5.) use sodium bicarbonate (baking soda) and vinegar 6.) use cheap soda (cheap coke brand) 7.) use a drain plunger 8.) combine any chemicals and baking soda combos with a big amount of boiling hot water after a while 9.) blow into the release valve or hook it to water pressure.
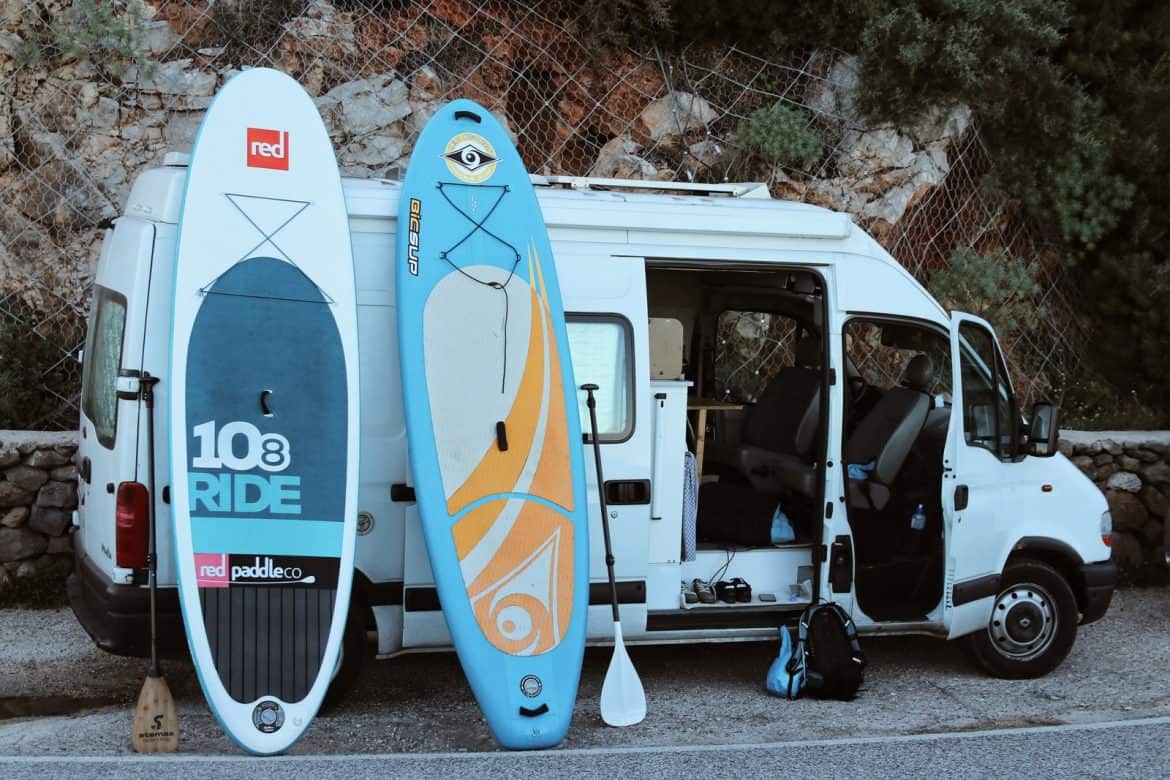
All problems solved on New Years eve. Lets surf. After the surf session we get out of the water, pack the surfboards, get out of wetsuits, take a shower, get dressed… it’s getting dark, the stars are out, I have opened a bottle of wine, it’s time to start the New Year’s dinner and…
5. We Are Out of Gas
Crap. No dinner, no heating, no warm water. And everything closed until January 2nd. We solved this with a kick ass salad, turning on the engine to heat the van until we went to sleep and a pack of baby wipes. January 2nd early morning I was standing in front of the gas shop holding my gas tank and waiting for the guy to open the shop. He threw one look at the tank and shook his head: “Wrong valve, it won’t fit.”. Lol, the camper van beginner mistakes and problems seem to have babies. “OK, now what?”. I had to install a new gas regulator and buy an Italian tank of gas. A tip for beginners that I got out of this is:
Different countries use different gas valve sizes. Buy the gas tank valve adapters before the trip. With the right adapter you can refill your gas tank. Not many gas shops offer refills though. Usually they just sell full tanks. Also learn how much gas do you on average use per day. Bring spare tank if you have enough room.
6. We Are Out of Power, the Batteries Are Dead
If you asked me to tell you a few words about the camper van batteries before the trip there would be a lot of silence :). I had no idea. Turn things on when you need them and that’s it. But this is the heart of your camper van, if batteries die, most of the things will stop working. The lights, the fridge, the heating, the mobile phone charging…. So not knowing anything about your camper van batteries is one of the main camper van beginner mistakes.
We did not follow the 50% discharge rule of the lead acid batteries. Which would have been impossible anyway since the batteries were in a pretty bad condition to start with. Lucky for us it was sunny most of the time so the solar panels worked full time and we were driving around a lot looking for surf, so we charged the batteries when on the move.
When the sun went down they were fully charged, 200ah, the next morning they were always in the red even though the listed capacity should last a few days without charging. When I got back I found out they definitely need replacement. But if you are a camper van beginner, this is what you need to know about your batteries:
You can have lead acid, AGM, GEL or lithium batteries. First three types you can not discharge more than to 50%. Yes, you can only use one half of the batteries power before recharging them or you will severely shorten their lifespan. Lithium batteries can be discharged almost completely. But you probably don’t have lithium batteries because they are really expensive and rare.