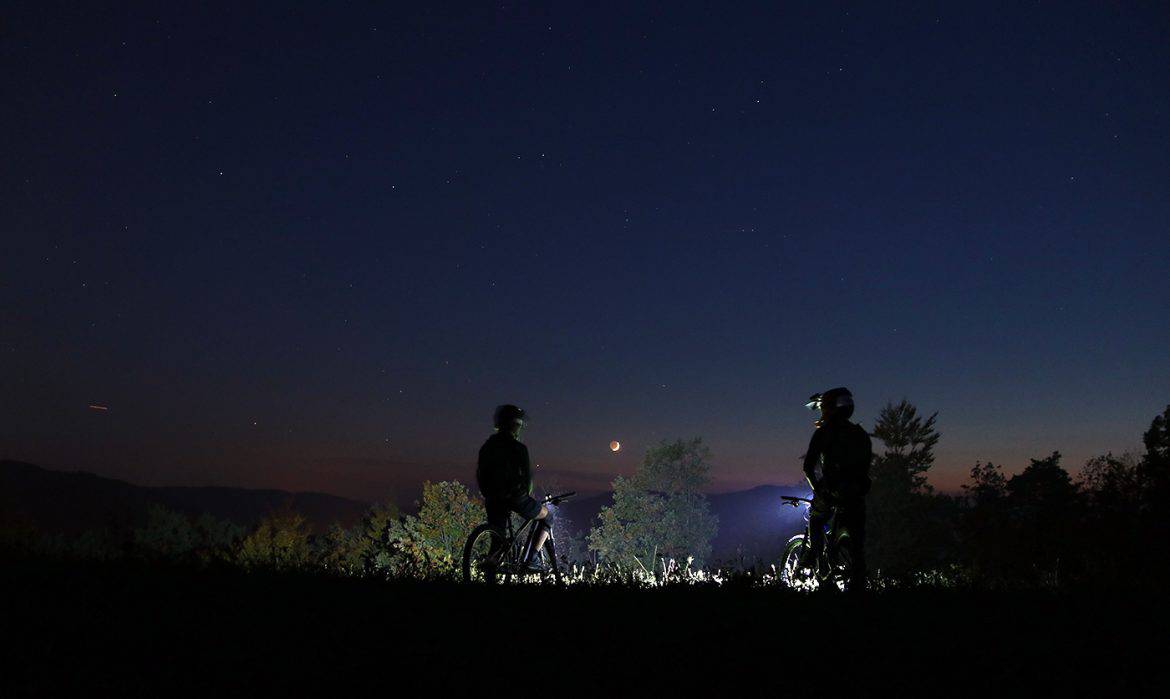
If you are a beginner and want to do some night mountain biking you will quickly ask yourself what kind of bike lights should I get? What is the best bike light setup for mountain biking? I know I did and it was hard to get the answers so I wrote this article to help you out. First I suggest that you read the flood light vs. spot light article which explains quite a few things about bike lights. To quickly sum it up:
- Flood light – wider angle, less distance
- Spot light – narrow but more distance
Another question I asked myself was where to mount the light. There are two places people mount their lamps – handlebars and helmet.
Table of Contents
Mounting Lights On Handlebars
A handlebar mounted lamp will light in the direction of your handlebars. So if you want to see left you would have to turn your handlebars to the left and vice versa. This is of course not very practical. Usually you turn your head before you turn your handlebars when checking the trail ahead. Also – you can not really see left or right from the trail like… if there is a suspicious noise coming from the bushes :) or something like that.
But on the other hand a handlebar mounted lamp is more practical because it is on the bike instead of on your head. Putting a light on your helmet brings battery problems. All lights need to be connected to batteries and when mounting lights on handlebars you mount the batteries on the bike frame and you are set to go. With head lights it’s a bit more complicated.
Mounting Lights On Helmets
If you mount the lamp on your helmet the light will always follow your head. Wherever you look the light will follow. Another good thing is extra height. A lamp on a helmet will throw the light on the trail ahead from a higher point which means less shadows. But it is kind of impractical because it makes your helmet heavier and you need a cable connecting the lamp and the batteries to be hidden somewhere on you. The best thing is to have a backpack so the batteries are in the backpack and there is only little distance from the helmet to the batteries.
Now if we combine this knowledge with the flood light and spot light info – what kind of lights should you get and where to put them? What is the best bike light setup for mountain biking at night?
What Kind Of Bike Lights Should You Get And Where To Put Them?
1. Best Case Scenario – Spot Light On Helmet, Flood Light On Handlebars
If you have enough money and you don’t mind carrying two lamps then get one strong spot light and one strong flood light. Then put the flood light on the handlebars and spot light on your helmet.
Spot light on your helmet means that the strong beam of light will always follow your head so it will be right in front of your eyes at all times. This way you won’t have problems with sharper borders of the spot light – if you look from a bright spot into a darker area you will be blinded for a while, like stepping inside from strong sun. But if the bright spot is always in front of you you don’t have to…actually you can not look away.
Flood light on handlebars will give you great width of viewing field, spot light on helmet will give you the distance and will follow your head – this combination allows you to ride anything you would normally ride during the day – even very fast descents.
2. Strong Flood Light On Handlebars Only
This is IMHO the second best thing if the flood light is strong. If you are only going to get one lamp then get a strong flood light and put it on your handlebars. Flood light does not have a bright spot in the middle that would disturb your eyes. It will evenly light a wide area in front of your bike which also includes corners. It should be strong so it has enough distance. This kind of setup is ok for everything but the fastest descents. If you are going really fast you will need some more distance from a spot lamp.
3. Spot Light On Your Helmet
Because spot lights give you more distance they don’t have to be so powerful to light the trail far ahead. Less power equals lower price, so this is the cheapest mountain bike light setup of all three. Bright spot will follow your head so it won’t bother you but you will miss the wide angle of the flood light. Still even this is quite alright for most of the XC night riding.
4. What Else?
There are also lamps that combine spot and flood lights so you might want to check these. But usually these are not the most powerful lamps out there.
Also be aware that these lights can really be very strong. When you are returning from the trail and driving on roads with cars coming towards you they will be blinded by them. Most of these light have more than one power setting so put them on low in these conditions.
Also put them on low when going uphill to save the batteries and to stop them from overheating. After a while strong bike lights get really hot so your bike needs to be moving to keep the airflow over them which cools them down. Heat can shorten the lifespan of the lamp.