It is almost inevitable that after a couple seasons of wearing your wetsuit it will get scratched or torn. Rather than rushing out and buying a new one, you can simply repair it so you can enjoy it for several more years. While rips and tears can be fixed, wetsuits which are old and stiff from exposure to the sun and UV rays can’t be repaired. When the neoprene is brittle and cracking, that is an indication that you really need to get yourself a new suit (check out this article on how to take care of your wetsuit).
Repairing a wetsuit is quite simple and not that expensive and as long as you use the right repair products and do it properly. You can bring it to a professional repair shop or choose to save some money by fixing it yourself. Here are a few tips and instructions on how to repair the wetsuit yourself.
Types of Damage You Can Repair At Home
Most small holes or tears can be easily fixed at home. Whether it got ripped on a rock while diving or snagged on a nail in storage, you can have it fixed easily. If the hole is small enough you can actually just use a special neoprene glue to seal it back up. For larger holes ranging from about two inches and up you will want bring it to a wetsuit repair shop where they can patch it with additional piece of neoprene. If you are handy and have a neoprene repair kit that includes pieces of suitable neoprene you can also do this at home. Otherwise – repair shop is also recommended when the seams are starting to come loose.

Repairing Your Wetsuit
When you want to repair your own wetsuit you’ll need several things ready before you start including the following:
Cleaning Alcohol – You want to ensure the area around the hole is very clean to ensure it sticks properly.
Short-Bristle Brush – A brush with ½’’ bristles will help prepare the area to bond properly.
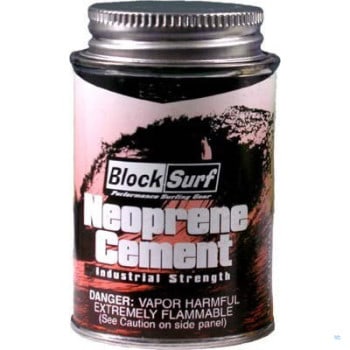
Neoprene Cement – This is the ‘glue’ which will help seal up any holes.
Heavy Object – This weight is used to hold the repaired area in place while the neoprene cement dries.
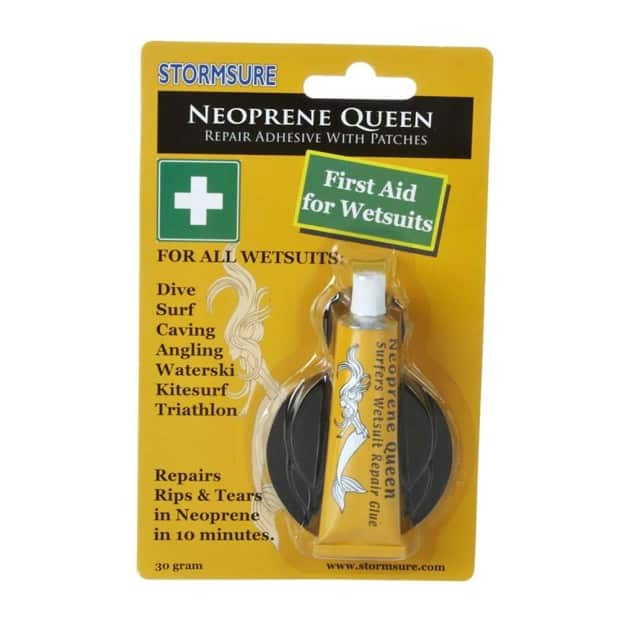
One easy way to make sure you have everything you need is to purchase a wetsuit repair kit which will include everything you need (except the weight :) ). You can also just pick up a tube of the neoprene cement if you already have the other items you need.
Step by Step Instructions
- Clean the Wetsuit – Clean the entire wetsuit, especially areas in and around the hole. Remove all dirt, salt and wax completely.
- Dry the Wetsuit – You need the wetsuit to be completely dry so lay it out until the entire suit is dry.
- Clean the hole and the area around it with alcohol and let it sit until it has evaporated.
- Apply the neoprene cement with the brush to all surfaces which need to be sealed back together. Let them sit for five minutes WITHOUT closing the area together (also check the instructions on the neoprene glue).
- Repeat the process in step 4 and let it sit for 10 minutes.
- Press the surfaces of the hole together firmly with even pressure. Using a large book or rock to hold them in place.
- Leave them held together for at least 6 hours.
Be extra careful not to glue your entire suit together – put a plastic bag between the part that is being glued together and the rest of the wetsuit!


